Final Samples
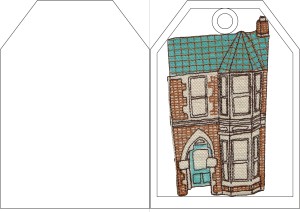
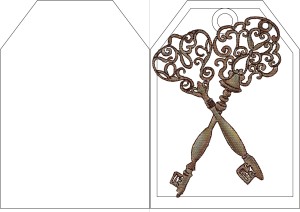
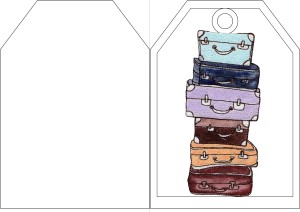
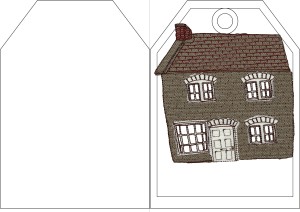
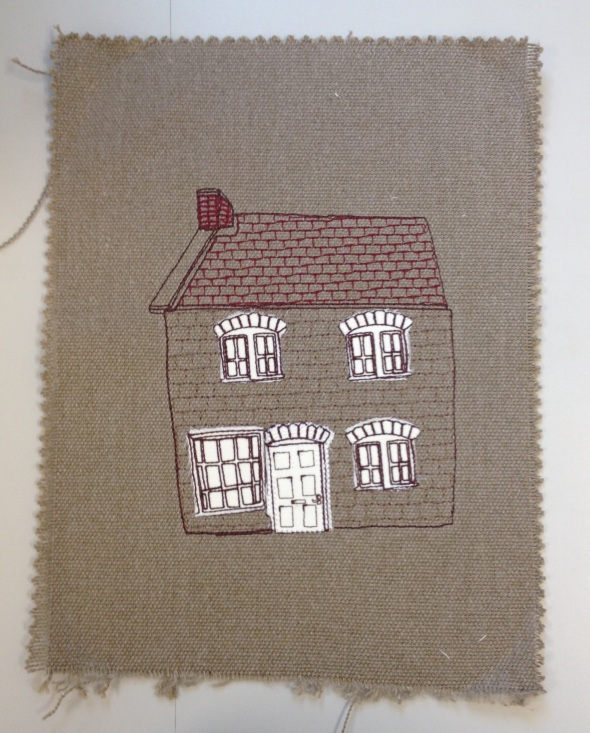
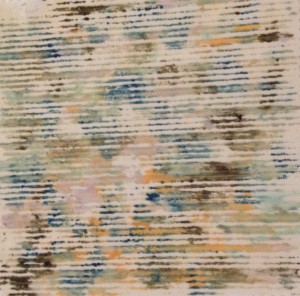
Posted: November 20, 2015 Filed under: Subject ADZ6777 Leave a commentHere are my final samples which I have created using digital stitch and fabric paint. These were originally drawings from my sketchbook, selected these 8 as I believed they were the most successful and each showed variety within my theme. I wanted the four houses for my cards to be different types of houses so I have chosen a town house, a Victorian terrace, a cottage and a thatched house – the idea behind this is that the customer would find a house that relates to them most and would select the house that they would be moving into. If this was a bigger collection of cards I would have designed a further array of house designs but I felt that some variation was needed within my collection, not just houses. I will also be stitching out a bicycle and some flower pots which are also in my sketchbook to create more of a scene which was mentioned in one of my tutorials.
Tutorial
Posted: November 12, 2015 Filed under: Subject ADZ6777 Leave a commentToday I had a tutorial with Keireine, I hadn’t seen her for a tutorial during this project so it was good to get her opinion on my ideas. Keireine was very positive about my ideas and my prototype which I had created yesterday. She suggested I create my prototypes directly onto brown card not white as this colour change will change how the design looks overall. She also asked me to think about my mark making samples explaining they could look too busy and confusing behind my stitch work. This was something I had already thought about it although Keireine suggested using plain bubble wrap, photographing it, scanning it etc instead of printing different coloured paints from my palette.
Keireine also mentioned that I need to start thinking about creating a logo and brand name for my collection and also to think about the back of my card designs and also envelope design. Also where will people be able to write on the card design as if I use bubble wrap you will be able to see through it onto the back of the card.
Finally, she advised me on how I should be updating and adjusting my studio space and boards. My moodboards should now be on the side of the space as these are no longer the main focus of my space. I should be putting up my related samples and prototypes onto the main pin board area of my studio space.
Overall I thought the tutorial was very positive and has helped me in progressing with this project!
Photoshop Prototypes
Posted: November 12, 2015 Filed under: Subject ADZ6777 Leave a commentWhilst waiting for my tutorial today I began creating some quick prototype design ideas on Photoshop where I scanned in my motifs and placed into a card shape. Realistically, there will be variations in card size so these are generalised design ideas and will be more detailed when I come to actually make them. So far I only have 5 motifs stitched out but I have the drawings ready for all 8 designs. I will be finishing off these digital stitches over the next few workshop sessions. These do look quite plain at the moment but with my mark making samples behind them hopefully they will be more brought to life! I have decided that to make sure the cards are obviously new home cards I will be stitching onto these mark making backgrounds with text like “Home Sweet Home”, “Key to your New Home” etc. Each of these motifs will also be stitched out onto the same fabric as at the moment the difference in colour/type of fabric makes me feel the designs don’t work so well as a collection.
Starting to Make Prototypes!
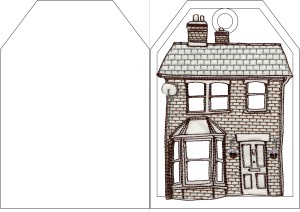
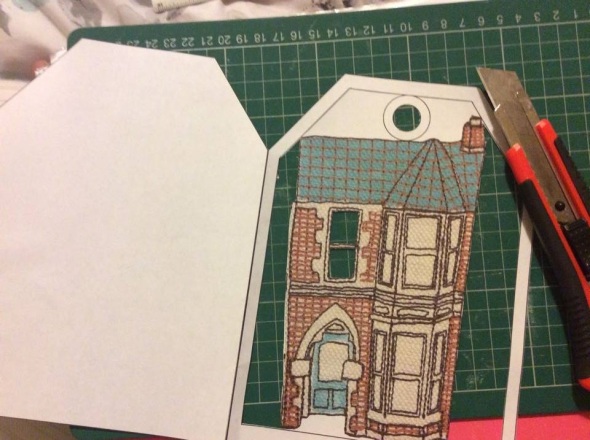
Posted: November 11, 2015 Filed under: Subject ADZ6777 Leave a commentThis evening I had a sudden surge of enthusiasm for my design ideas and so decided to start making a prototype. The idea of the design is that it should look like a luggage tag, the white paper will actually brown card. Each motif will have parts cut out and also behind the motif. There will then be a section of mark making inspired by or created using media related to home/moving home, for example, tea/coffee/newspaper/corrugated cardboard/bubble wrap. This is something I need to think about as one of the mark making samples I already have is way too busy for this design and did not work well behind the house. I will continue to make prototypes for all 8 card designs.
On track!
Posted: November 10, 2015 Filed under: Subject ADZ6777 Leave a commentI finally think I have a clear concept and path for where I am going with this project. I will be completing 8 cards which will all be for new home. 4 of the designs will be of houses, 2 of keys and 2 of suitcases. Each card will be using the same techniques so that they work well in a collection together; the techniques used will be digital stitch along with free hand machine stitch. Each design will have sections cut out from it, which will be cut by hand and not a lser cutter unfortunately. There will then be a design behind these cut out sections which will be mark making prints all related to homes/moving home e.g. bubble wrap, corrugated card, tea and coffee etc. My new idea for the cards will be that they will have a removable section which will be a fridge magnet. New homes need decorating and this is a simple way for people to decorate whilst keeping something sentimental from friends and family.
Workshop Session
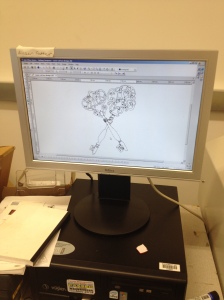
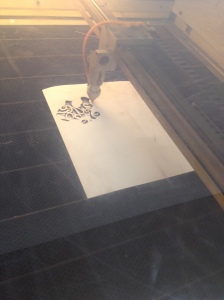
Posted: November 9, 2015 Filed under: Subject ADZ6777 Leave a commentToday I hoped to combine my ideas of digital stitch and laser cutting. I had prepared myself for the workshop session by scanning in a couple of my digital stitch designs which I planned to laser cut. When I came in in the morning I used the scanned in copies of the digital stitch samples and produced an illustrator document which I would use to laser cut out the design. I believed it was going well when the trial piece was the correct dimensions as the photocopied piece however I realised that the laser cutter would be cutting the design out in the wrong area of the paper. I tried a few things like placing a square around the design to cut out the right area but unfortunately this didn’t work. I realised that maybe laser cutting the design out was making my life too complicated and to make it simpler I could just do this by hand. I had thought I would be cutting the design out of fabric originally which is why the laser cutter would be simpler but I have now decided that I can easily do this in paper/card instead as the design will be going on card in the end anyway.
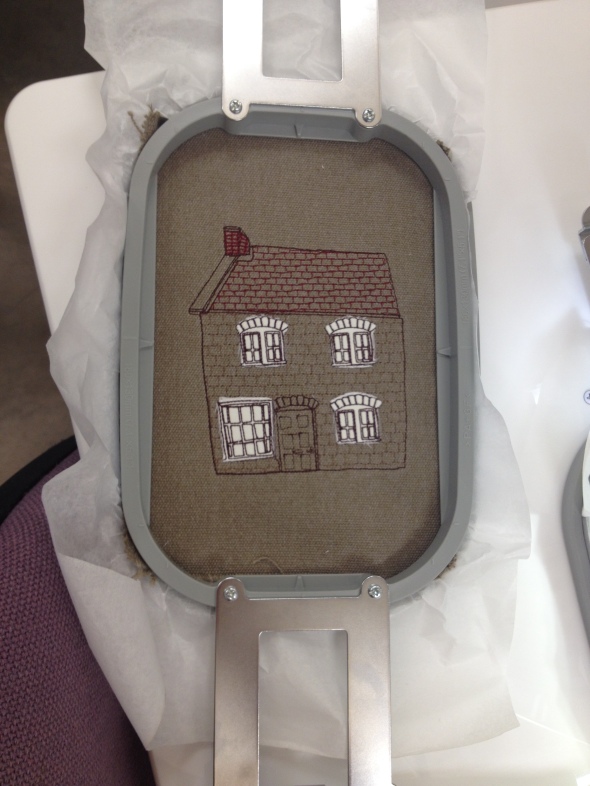
Today I also stitched out another digital stitch design of a house. I am experimenting with different styles of houses after advice from the interim crit. This time I experimented with more techniques within digital stitch. I used applique for the windows of this house. After I stitched out the design I felt that the door of the house looked lost and so decided to applique the house as well.
Laser Cutter designs.
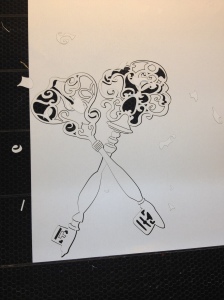
Posted: November 6, 2015 Filed under: Subject ADZ6777 Leave a commentAfter my interim crit with Internaional Greetings I was quite confused as to where I was going and where I was taking this project. I discussed this with Steve and he gave me a few different ideas to think about. One of the things he mentioned was the idea of using a laser cutter in my designs. He gave me the idea of designing 8 different skeleton keys which would have sections laser cut out, behind this part of the card would be another layer with a separate design on. These designs would include different areas of a house, and the tag line for each card would be “The Key to my home”, “The key to my kitchen” etc. I really liked this idea but when I came to actually laser cut my key design and place it over other drawings in my sketchbook it looked to busy and didn’t work well aesthetically. However, this has now given me something to thing about, I like using the laser cutter but I also love to work with digital stitch. I talked to Steve about potentially combining these two techniques, and this is something I will be trying out on Monday.
I experimented with my skeleton key design a few times, using different cutting techniques including Cut Through, Kiss Cut, Engraving until I was happy with my design.
Workshop Session
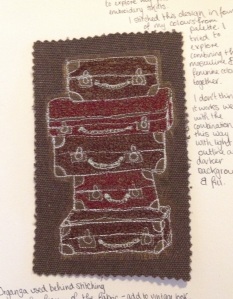
Posted: November 2, 2015 Filed under: Subject ADZ6777 Leave a commentToday I went into the stitch workshop, today I tried experimenting more with free-hand machine stitch after thinking about the advice given in my interim crit with International Greetings. I decided to experiment with the same motif of a stack of suitcases which I had digitally stitched out the other day. I first stitched the design out on a dark brown background using lighter threads which were in the more pastel feminine colours in my palette. I don’t think that this worked very well, the lighter colours didn’t seem to come out well on the dark brown fabric so I decided to try again using lighter fabric. The next time I stitched the design out again onto light purple fabric and used dark brown threads as an outline and lighter threads to create texture onto the actual suitcases.
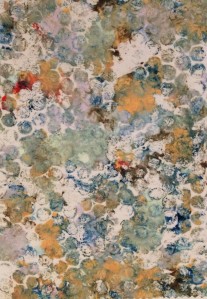
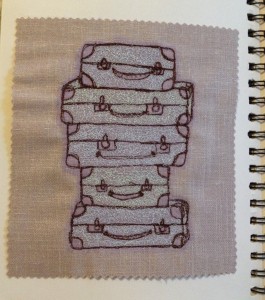 I also experimented with more bubble wrap printing and also corrugated cardboard prints. I really liked the idea of using media which was related to home/moving home. I found the prints intriguing because they are not obvious and are just samples of mark making using my colour palette and theme. This time I combined both the masculine and feminine colours in my palette instead of separating them. Both of the experiments came out very successfully. Although i’m still not 100% sure as to what I will be doing with these prints.
Bubble Wrap and Digital Stitch
Posted: October 30, 2015 Filed under: Subject ADZ6777 Leave a commentToday was the first workshop day after the interim presentation so I was a bit confused as to what to do! I decided that I would stick with things I was planning on doing before the presentation and do some digital stitch of suitcases as so far I had focussed mainly on houses. I created a simple outline which I thought I would use for applique. I decided that I would experiment with different fabrics and fabric paint instead. I stitched out an outline of the suitcases onto faux leather but I didn’t like the light outline colour on the dark fabric.
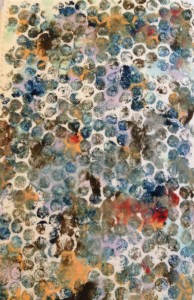
I then thought about what was said at my presentation about experimenting with media which was related to homes/moving home and did some bubble wrap prints. I wasn’t really sure what to expect or whether I’d like them but thought it would be good to do some mark making. I decided to separate my colour palette and so printed one in the feminine pastel colours in my palette and another one with the darker more masculine colours. The experiments worked really well and I think they would look great for applique or background designs!
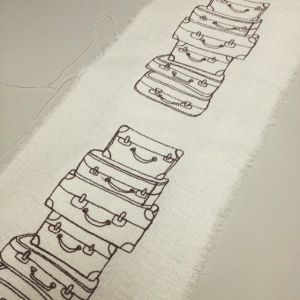
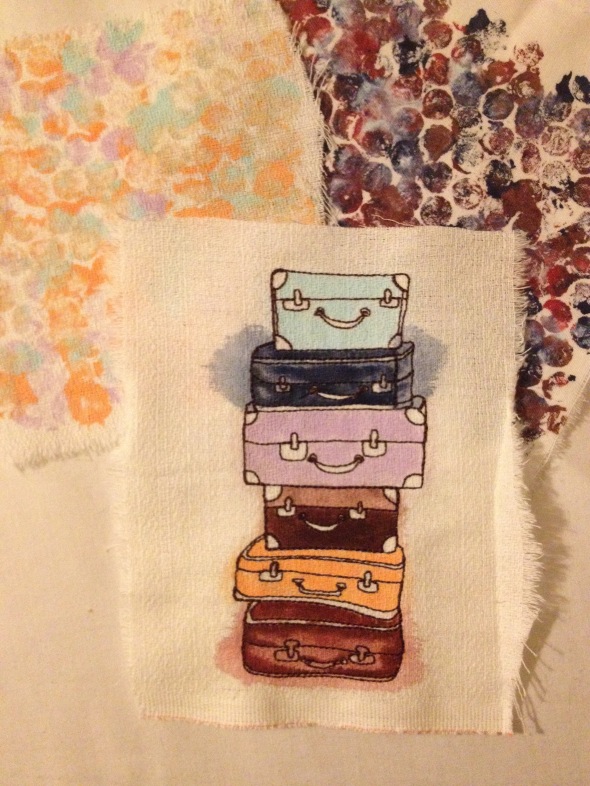 The fabric paint has bled out of the outline design due to the weave of the cotton but I quite like this, I feel it adds to the vintage feel.
Interim Presentation
Posted: October 29, 2015 Filed under: Subject ADZ6777 Leave a commentToday was the interim presentation with International Greetings. I felt quite disheartened by it and didn’t feel that it had gone very well. I was very nervous and didn’t feel that I presented very well. I had to present to Helen and Leanne from International Greetings along with Rachel, Jasmine and Steph. I presented third which I think made me more nervous as I like to go first to get it out of the way! After I presented Leanne stated that she didn’t like the concept of being inspired by rust; rust signifies decomposition and she said that she didn’t think it made sense to use it within my New Home theme. I had heard this from a few different people but thought that it could be overlooked because just because a house is new to someone, doesn’t necessarily mean it’s a brand new home. I wanted my cards to be a bit different and quirky and thought this added to it. However, I understand what she means and will be taking this on board. One thing she really liked was the idea of using media which is related to a home or moving home, so tea and coffee dyed fabric, newspaper collages and printing with bubble wrap and cardboard. These are techniques which I will experiment with. Leanne mentioned that she preferred my free-hand machine stitched drawings rather than my digital stitch drawings as she said they showed my personal hand writing better. I will take this on board but I am really enjoying working with digital stitch and feel it is very successful. I will continue to experiment with both techniques and may even combine the two to see if this works well. She also mentioned that I needed to bring in more of my more feminine colours from my palette as everything was quite dark and masculine.
The presentation gave me a lot to think about and consider but I was left very deflated and felt quite lost after it. I need to take some time to experiment more and maybe have another tutorial. I was a little confused that none of the tutors had mentioned that rust did not make sense in my New Home theme so this is something i’d like to discuss with someone.


